09. Windows: Changing Environment Variables
How to Change Environment Variables
After you’ve verified that you have a version of the java development kit installed, you have one more step before you start programming on your own computer!
You need to tell our computer where to find the JDK by changing your computer’s environment variables.
1. Go to Advanced System Settings
To get to your computer's environment variables, right click on your start menu and go to System.
You can also get to your System settings by going to your main Control Panel.
Select System from the start menu
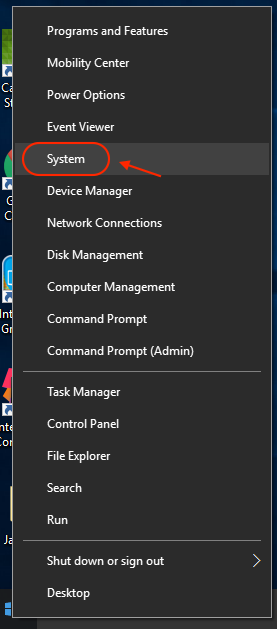
Select System from the start menu.
step 1.5
Then you should see a System window with options on the left side that include Advanced system settings, which is what we want to change, so click on this option.
Advanced System Settings
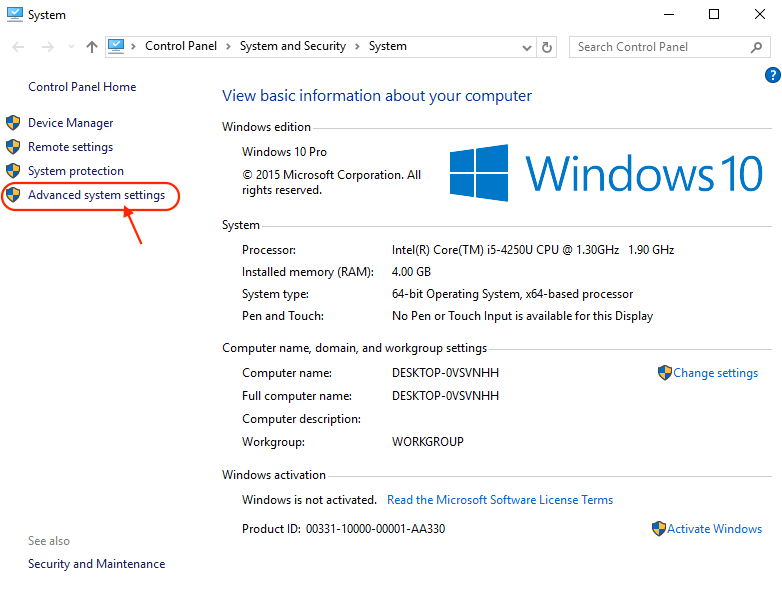
Select Advanced system settings.
step 2
2. Select Environment Variables
After clicking on Advanced system settings, you’ll see a window pop up for System Properties. Click on the button at the bottom right labelled Environment Variables.
These variables affect how your computer runs, and deleting or changing one could cause your computer to crash, so make sure to follow along with these next steps closely!
Sys properties

Environment Variables button.
step 3
3. Edit the Path variable
Next, you should see a list of the environment variables that your computer recognizes.
There's only one variable you want to edit and that's the Path variable. The path is where our computer looks for programming resources, and we need to add our JDK to this path.
So select Path and click Edit.
path var
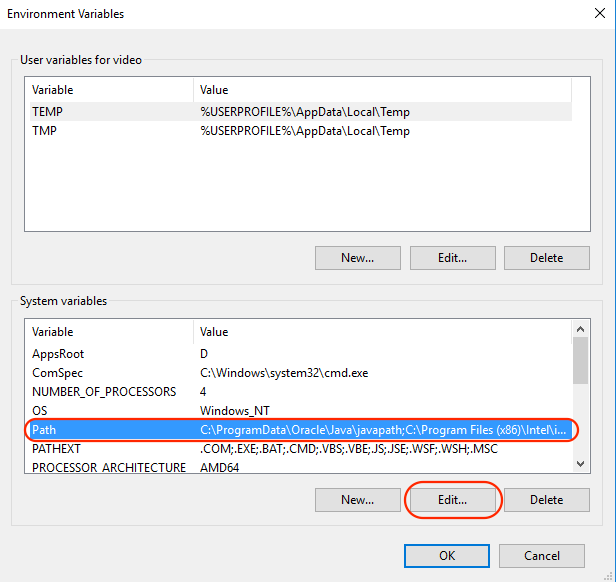
Select the Path system variable and click Edit…
step 3.5, new
Then create a new item and name it new. Don't change any of the exisiting listed files.
edit var
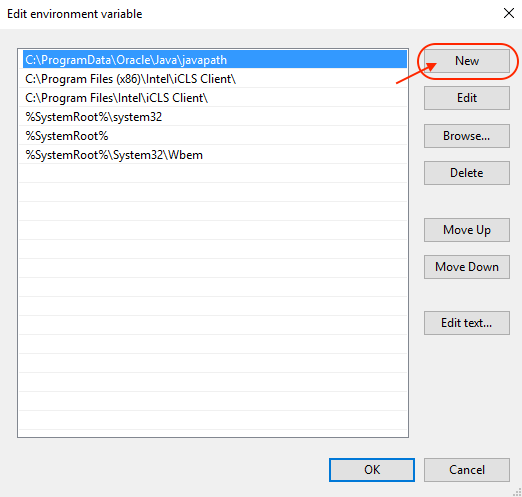
Click on New in this edit window.
name it new
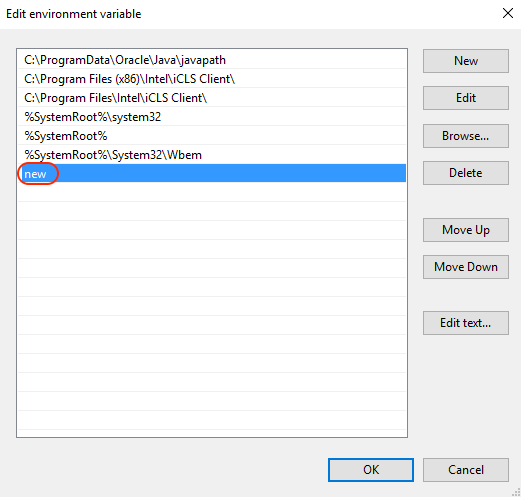
Name the new variable "new."
step 4
4. Browse to the JDK bin file
Select your "new" field that you just created and click Browse…, which will let you browse and select the JDK file that you want to add the Path variable. Navigate to your main C: drive then to Programs (x86) > Java > jdk > bin, and select the bin folder.
bin file
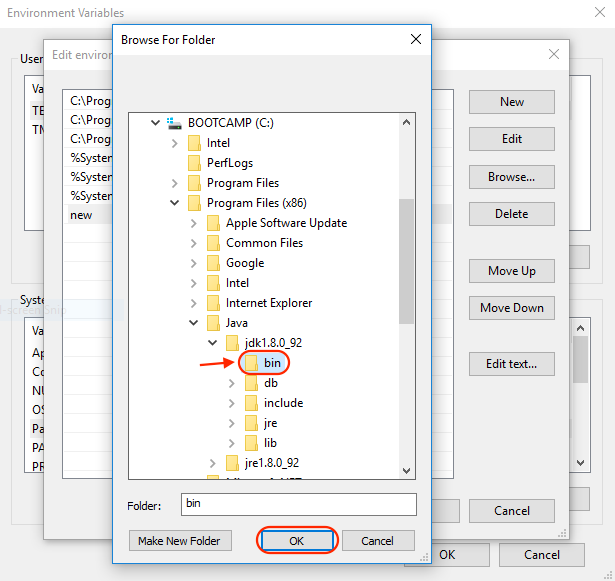
bin folder location.
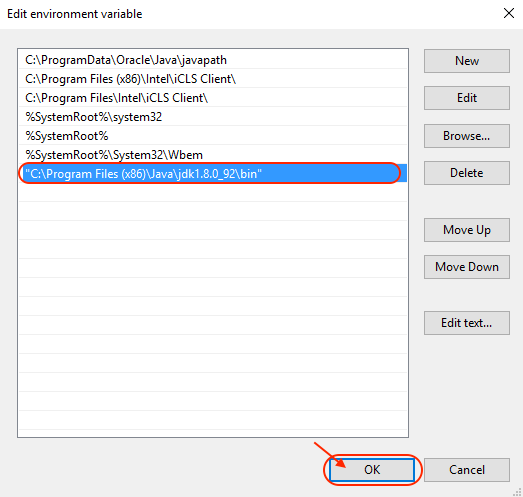
fini!
5. Click Okay Twice!
To finish this process, make sure you click Okay in this edit window and Okay in the Environment Variables window, otherwise your edit will not be saved.
Okay1
Okay in edit window.
okay2
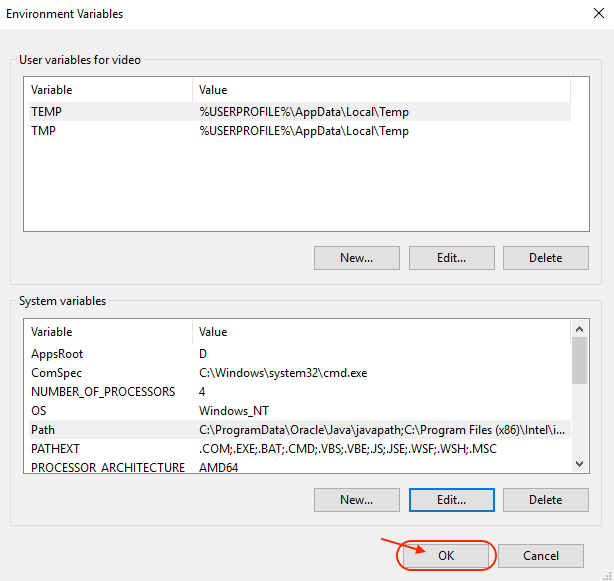
Okay in environment variables window.
done
And you're done!!